Creating a
Multi-Section Surface – Closing Points:
Step 1: Goto Mechanical
Design > Wireframe & Surface design….
Step 2: Click on Plane Icon here dialog
box will opens select offset and set specified dimensions.
 Step 3: Select
the plane and click of Sketch
Task Environment and it directly takes you to Sketchy Window.
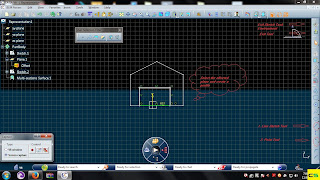
Step 4: Here
select any Sketch tool to Sketch a Profile; I selected Line Sketch tool to
sketch a profile.
Step 5:
Create the required points on profile by Clicking on Point Tool.
Step 6: Exit
Sketch Task Environment and it
directly takes you to surface window.
Step 7: Now
Select another plane and create a Sketch profile And apply points.
Step 9: Now
go to Insert > Surface > Multi-Section Surface… here select the sketch
profile as section 1 and 2 replace the point direction if need by Right Click
on points and select Replace.
Step 10: Click OK.
Refer Images…


0 comments:
Post a Comment